
A coffee grinder that suddenly stops usually has a simple cause: a power issue, a jam in the burr chamber, or a clogged chute. In most cases, you can restore grinding in 10 to 20 minutes with basic checks such as unplugging the grinder, clearing old grounds, and inspecting the burrs for chips or misalignment.
Start by deciding which symptom matches your grinder:
- No sound or movement: Check the outlet, plug, cord, switch, fuse, and circuit breaker.
- Motor runs but beans do not grind: Look for jammed burrs, a blocked chute, or a feed obstruction.
- Handle is hard to turn: Clear packed grounds from the burr gap.
- Grind is uneven or dusty: Inspect the burrs for damage or misalignment.
- Rechargeable grinder is weak: Fully charge it and test with a smaller batch.
- Burning smell, squealing, or repeated stalls: Stop using it and seek service.
Key Takeaways
- Start with power checks. Unplug the grinder, plug it back in, and verify the outlet with another device.
- Treat clogs as the most likely cause. Old grounds can jam the burr area and chute.
- Clear jams safely. Remove trapped beans with a wooden toothpick, never metal tools near the burrs.
- Inspect the burrs. Cracked ceramic burrs cannot be repaired and must be replaced.
- Test rechargeable grinders with a smaller batch. A low charge or overloaded feed can make the motor seem weak.
- Stop before forcing the grinder. Burning smells, repeated stalls, or grinding noises after cleaning require service.
Why Your Coffee Grinder Stops Working

Coffee grinders usually fail for one of two reasons: power is interrupted, so the motor never starts, or something blocks the grinding path, so the motor runs without processing beans. Unplug the grinder before opening the hopper, chamber, chute, or burr area, and keep metal tools away from the burrs.
Cleaning is the fastest fix for a jammed or inconsistent grinder. A daily 30-second clean prevents 80 percent of grinder problems because coffee oils and fine grounds collect inside tight gaps. Once that residue hardens, it can stop the burrs from turning, block the chute, or prevent beans from feeding into the grinding chamber.
Helpful pick
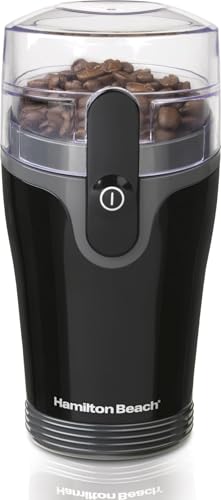
Hamilton Beach Fresh Grind Electric Coffee Grinder For Up To 12 Cups
If your current grinder is beyond repair, this electric model is a reliable, budget-friendly replacement for brewing up to 12 cups.
Start With Power, Then Check for a Jam
If the grinder is completely silent, unplug it and plug it back into the same grounded outlet. Test that outlet with another device, such as a phone charger or lamp. Check the grinder’s fuse or the circuit breaker for the circuit it uses. Some models also have a secondary on/off switch on the side or underside, so confirm that switch is on.
If the motor runs but nothing grinds, empty the hopper, grinding chamber, and chute. Remove loose grounds and beans, then test the grinder briefly with no beans. If the burrs move freely without beans but stop or fail when beans are added, the likely cause is a feed obstruction or buildup in the burr gap.
Do not keep pressing the button when the grinder is jammed. Repeated attempts can overheat the motor and force the blockage deeper into the grinding path.

Helpful pick
KRUPS Precision Electric Coffee Grinders, 3 oz Capacity, 200W Motor, Stainless Steel Blades for Uniform Grinding of Beans, Herb and Nuts, Coffee and Spice Grinder Electric, (Black)
When troubleshooting power issues, consider this precision electric grinder as a powerful and durable alternative for your morning coffee routine.
Clear the Burrs and Chute Safely

Unplug the grinder before cleaning. Empty the hopper and remove accessible grounds from the grinding chamber and chute. Use a brush or a wooden toothpick to loosen trapped beans and compacted residue. Never use a metal tool near the burr surfaces because it can chip the burrs.
For a manual grinder, old grounds can pack into the burr gap and make the handle difficult to turn. Disassemble only the parts allowed by the manufacturer’s instructions, brush out the residue, remove any trapped beans, and reassemble the burrs carefully.
Grind settings can also cause “starts but fails” symptoms. A setting that is too fine increases the chance of clogging and dust buildup, especially when you use oily beans. On a burr grinder, adjust the grind size while the grinder is running only if your model’s instructions specifically allow it.
Check for Damaged or Misaligned Burrs
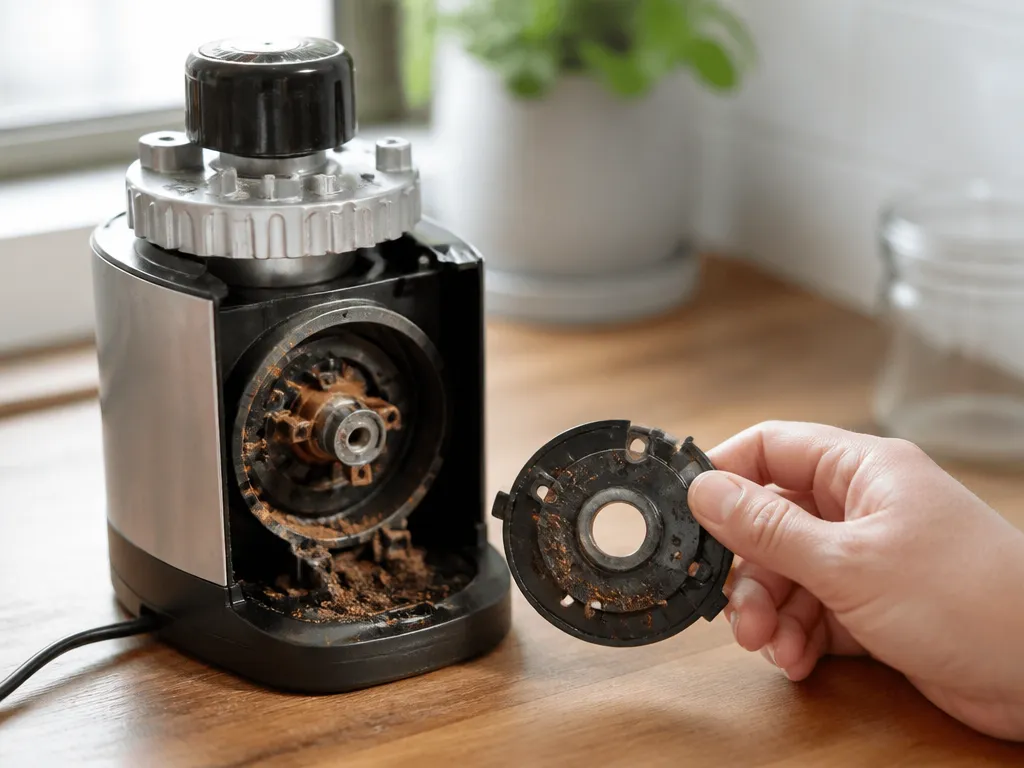
Inspect the burrs after clearing the grinding path. Look for chips, cracks, or burrs that no longer sit evenly in their housing. A cracked ceramic burr cannot be repaired and must be replaced. Continuing to run the grinder with a cracked burr can worsen the grind and create debris that contributes to further clogs.
An intact burr can still cause problems if it is seated incorrectly. Misalignment increases friction and can produce uneven grounds, excess fine dust, or repeated stalls. Reseat the burr according to the grinder’s instructions and confirm that it moves smoothly before adding beans.
If the grinder runs but produces a mix of fine and coarse particles, the problem is more likely burr wear or alignment than a power failure. Clean the burr area first, then inspect the burrs before buying replacement parts.
Match the Fix to the Symptom
| Symptom / What you notice | Most likely cause | First fix to try |
|---|---|---|
| No power, motor does not start | Outlet, cord, or internal switch | Unplug, replug, test outlet, check breaker/fuse |
| Motor runs, but beans do not grind | Jammed burrs or blocked chute | Empty hopper/chamber/chute, then test with no beans |
| Handle is hard to turn | Old grounds jam burr gap | Remove burr if your model allows, brush out grounds, reassemble |
| Uneven grind or “dusty” output | Burr misalignment or burr damage | Check burr seating/alignment, replace if chipped/cracked |
| Weak grinding on rechargeable | Low charge or small-batch feed issue | Fully charge, try a smaller batch |
| Squealing, burning smell, or repeated stalls | Severe jam, worn burrs, overheating | Stop, unplug, clean and inspect, then seek expert help if recurring |
When to Stop Troubleshooting
Stop using the grinder if you smell burning, repeatedly trigger thermal protection, or hear squealing and grinding noises after clearing the burrs and chute. Unplug it and let it cool before inspecting it. Do not keep testing a grinder that stalls repeatedly.
Seek service if the motor remains dead after you confirm the outlet, plug, switch, fuse, and breaker. Cleaning should restore smooth movement when residue is the cause. If it does not, the grinder may have an internal electrical or mechanical failure.
Replacement parts can make sense when the problem is limited to a burr, cable, or switch. If the internal motor is truly dead, service or replacement is usually a better path than repeated attempts to restart it.
Helpful pick
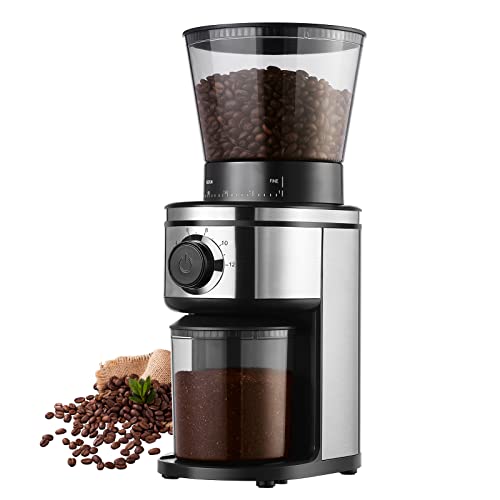
Ollygrin Burr Coffee Grinder, Electric Conical Coffee Bean Grinder With 30 Adjustable Grind Settings For 2-12 Cups, Sliver & Black
If you have decided to stop troubleshooting a faulty unit, this adjustable conical burr grinder provides a fresh start for your beans.
Common Grinder Problems and Their Fixes
A grinder that turns on but leaves the beans whole may have a clogged chute or burr area. Clear the feed path and try again with a smaller amount.
A manual grinder that feels as if it has lost its “gear” is often packed with residue. Old grounds can fill the burr gap and make the handle hard to turn. Clean the gap and remove trapped beans, then reassemble the grinder so the burrs sit correctly.
A burr that appears dirty may actually be damaged. Replace it if you find a crack or chip.
FAQ Of Why Is My Coffee Grinder Not Working
My coffee grinder makes noise but won’t grind. What’s the most likely issue?
If the motor runs but the beans remain whole, the cause is usually a jam or blockage in the grinding path. Clear the feed obstruction or burr-gap buildup.
Why is my coffee grinder not working even though it’s plugged in?
Unplug the grinder and plug it back into the same grounded outlet. Test the outlet with another device, such as a phone charger or lamp. If the outlet works but the grinder remains dead, check the fuse or circuit breaker for the circuit it uses. Also check for a secondary power switch on the side or underside.
How long should I try troubleshooting before I get it serviced?
Use a clear cutoff so you do not overheat the grinder or force a jam. Check the power, unplug the machine, clean the hopper, chamber, and chute, and test it again. If the problem returns after proper cleaning, or you smell burning, stop using the grinder and get it serviced.
Can a worn or misaligned burr cause my grinder to stop working?
Yes. Misalignment can increase friction and cause repeated stalls, while worn burrs can produce uneven grounds and excess dust. If you find chips or cracks, replace the burr. If it is intact, reseat it correctly and confirm that it moves freely.
Is there a cheaper fix than replacing the grinder?
Often, yes. Many apparently dead grinders are clogged, so cleaning the burr gap and chute can solve the problem without parts. A damaged cable may cost less to replace than a motor. If the internal motor has failed, however, service or replacement is usually the better option.
Unplug your grinder and identify the symptom first: no power at all, or a motor that runs without grinding. Match that symptom to the correct pathway, then work through power checks, cleaning, burr inspection, and service without forcing the machine.
Disclosure: As an Amazon Associate, I may earn from qualifying purchases at no extra cost to you. Amazon and the Amazon logo are trademarks of Amazon.com, Inc, or its affiliates.
