

Is your kitchen sink showing signs of wear or just not fitting your style anymore? Replacing your kitchen sink might seem like a big job, but with the right steps, you can do it yourself and save time and money.
Imagine having a fresh, clean sink that makes your kitchen work smoother every day. In this guide, you’ll find simple, clear instructions to help you replace your kitchen sink confidently. Keep reading, and you’ll discover how easy it is to upgrade your kitchen space without calling a pro.
Tools And Materials Needed
Replacing a kitchen sink needs the right tools and materials. Having everything ready makes the job easier and faster. This section lists what you need before starting the work. It helps avoid delays and mistakes.
Essential Tools
Gather tools that make removal and installation smooth. A pipe wrench is a must for loosening plumbing parts. Use an adjustable wrench for bolts and nuts. A basin wrench helps reach tight spots under the sink. Screwdrivers, both flathead and Phillips, are needed for screws. A utility knife cuts sealant and caulking. A putty knife removes old putty or debris. Finally, have a bucket ready to catch any water spills.
Choosing The Right Sink
Select a sink that fits your countertop and cabinet space. Measure the current sink to match size and shape. Decide on the sink material: stainless steel, porcelain, or composite. Each material varies in cost, durability, and style. Check the sink depth and bowl configuration for your needs. Pick a sink with pre-drilled holes if you have a faucet to install. Confirm the sink’s drain fits your plumbing setup.
Additional Supplies
Stock up on sealants like plumber’s putty or silicone caulk. These prevent leaks around the sink edges. New mounting clips or brackets may be required for installation. Teflon tape helps seal threaded pipe connections. Have new supply lines if the old ones are worn out. Clean rags and a sponge help during cleanup. Finally, use safety gloves to protect your hands during work.

Credit: www.youtube.com
Preparing The Workspace
Preparing the workspace is the first step to replace a kitchen sink safely and easily. A clean and organized area helps you work faster and avoid accidents. Take time to clear the space and get all tools ready.
Next, make sure the water supply is off. This stops leaks and water damage while you work. Finally, disconnect the plumbing carefully. This lets you remove the old sink without problems.
Clearing The Area
Remove everything around the sink. Clear countertops and cabinets nearby. This gives you room to work and stops items from falling. Put away dishes, soap, and cleaning tools. Lay down a cloth or plastic sheet to catch water or debris.
Turning Off Water Supply
Find the water shut-off valves under the sink. Turn them clockwise to close. If no valves exist, turn off the main water supply. Test by turning on the faucet. No water should flow. This step prevents leaks during the sink replacement.
Disconnecting Plumbing
Place a bucket under the pipes to catch water. Use a wrench to loosen the nuts on the drain and water lines. Disconnect the pipes carefully. Keep parts in a safe place for reuse or disposal. Check for any leftover water and wipe it up.
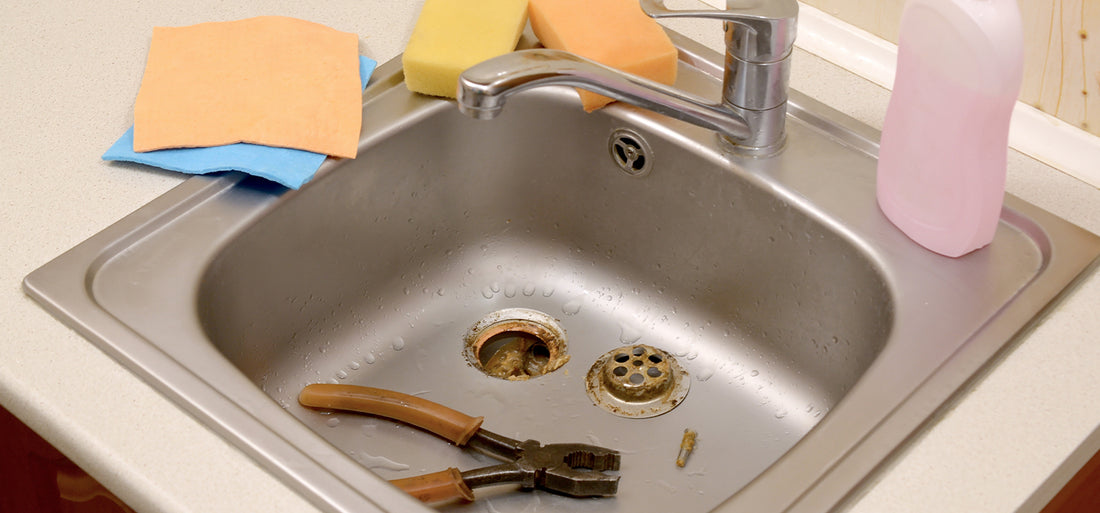
Removing The Old Sink
Removing the old kitchen sink is the first step in replacing it. This task needs care and the right steps. A proper removal helps avoid damage to your countertop and plumbing. Follow these clear steps to take out the old sink safely.
Detaching Fixtures
Start by turning off the water supply. Next, disconnect the water lines under the sink. Use a wrench to loosen nuts on the faucet and drain pipes. Remove the faucet and any other fixtures attached to the sink. Keep all small parts in a container for easy access later.
Lifting Out The Sink
Check for any sealant around the sink edges. Use a putty knife to cut through the old sealant. Gently lift the sink from the countertop. You may need help if the sink is heavy or stuck. Take care not to damage the countertop or cabinet below.
Cleaning The Countertop
Remove all old sealant and debris from the countertop surface. Use a scraper or putty knife to clear stuck materials. Clean the area with a mild detergent and water. Dry the surface completely before installing the new sink. A clean countertop ensures a good seal and fit.
Credit: tapron.co.uk
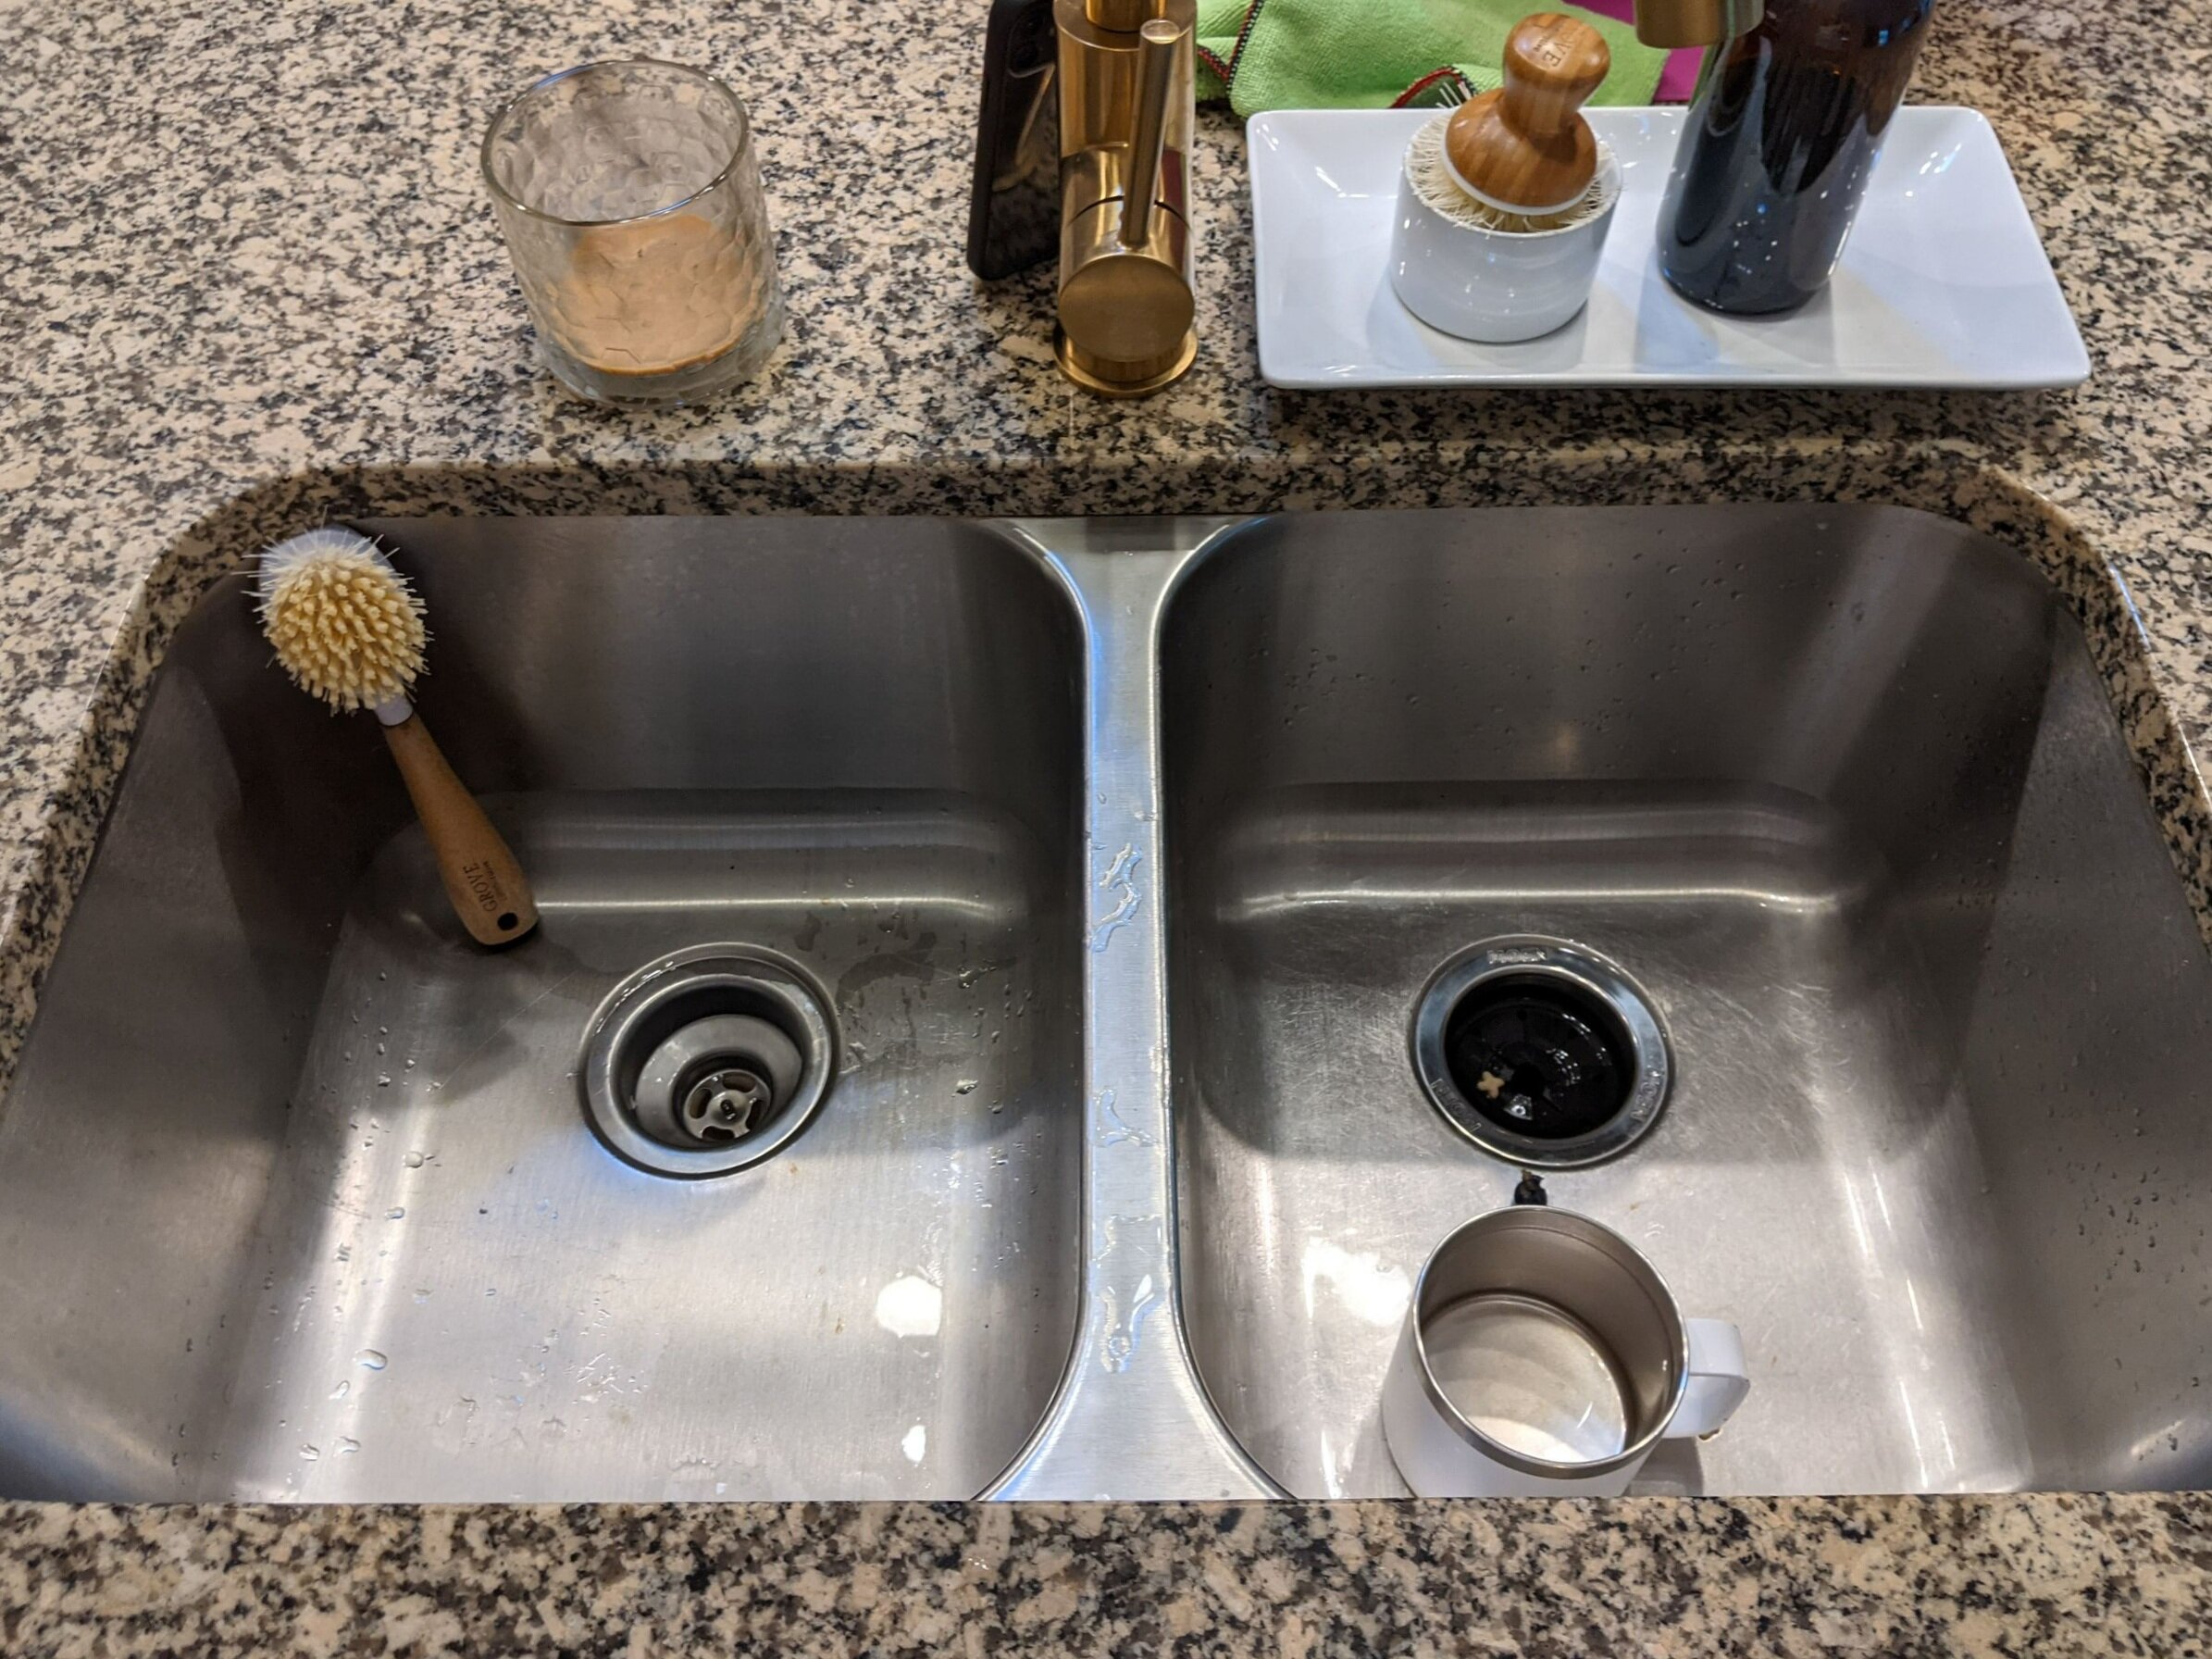
Installing The New Sink
Installing the new kitchen sink is a key step in your project. This part needs care and attention. A properly installed sink prevents leaks and keeps your kitchen safe. Follow these steps to set your sink right and make your kitchen look fresh and clean.
Positioning The Sink
Start by placing the new sink into the countertop hole. Make sure it fits well without gaps. Check that the sink sits flat and level. Adjust it until it does not rock or tilt. A good fit avoids future problems and keeps water in the sink.
Sealing And Securing
Apply a bead of silicone sealant around the sink edge. This creates a waterproof barrier between the sink and countertop. Press the sink down firmly into the sealant. Wipe off any extra sealant for a clean look. Use clips or brackets under the sink to hold it tight. Tighten them evenly but do not over-tighten.
Reconnecting Plumbing
Attach the drain pipes back to the new sink. Tighten all connections with a wrench to prevent leaks. Reconnect the water supply lines to the faucet. Turn on the water and check for drips. Fix any leaks by tightening or adjusting the fittings. Proper plumbing ensures smooth water flow and no mess.
Testing And Finishing Touches
Testing and finishing touches are key steps after installing a new kitchen sink. These steps ensure your sink works well and looks great. A careful check can stop problems early. Finishing touches make your kitchen neat and ready to use.
Checking For Leaks
Turn on the water supply slowly. Watch under the sink carefully. Look for drops or wet spots. Check all pipes and connections. Even small leaks can cause damage over time. Tighten any loose parts gently. Use a dry cloth to spot hidden leaks. Repeat the check after a few minutes.
Adjusting Fixtures
Make sure the faucet moves smoothly. Check if the handles turn easily. Adjust the spray hose if needed. Align the sink drain with the plumbing. Fix any parts that feel loose. Proper fixture adjustment improves sink function. It also prevents water waste and mess.
Cleaning Up
Remove all tools and materials from the area. Wipe the sink and countertop with a soft cloth. Clean any dust or debris left from installation. Dispose of old parts properly. Check the floor for spills or water marks. A clean space makes your kitchen inviting. Your new sink is now ready to use.
Tips For A Successful Upgrade
Replacing a kitchen sink can change the look and feel of your kitchen. Planning carefully helps you avoid mistakes and saves time. Follow these tips for a smooth and successful upgrade.
Choosing Durable Materials
Select materials that last long and resist stains and scratches. Stainless steel sinks handle heat and are easy to clean. Granite composite sinks offer strength and style. Consider your kitchen use and pick a material that fits your needs.
Maintaining Your Sink
Keep your sink clean to avoid damage and stains. Use mild soap and a soft cloth for daily cleaning. Avoid harsh chemicals that can wear down the surface. Regular maintenance keeps your sink looking new for years.
When To Call A Professional
Complex plumbing or tight spaces may need expert help. A professional ensures proper installation and prevents leaks. Seek advice if you are unsure about the plumbing connections. Safety and a good fit matter most in sink replacement.
Credit: housebythepreserve.com
Frequently Asked Questions
How Do I Prepare To Replace A Kitchen Sink?
First, turn off the water supply and disconnect plumbing. Clear the area under the sink. Gather tools like a wrench, plumber’s putty, and a new sink. Measure the existing sink for the correct replacement size before starting the job.
What Tools Are Needed To Replace A Kitchen Sink?
You need an adjustable wrench, plumber’s putty, screwdriver, bucket, and putty knife. A utility knife and pipe wrench can also be helpful. These tools help remove the old sink and install the new one properly and securely.
How Long Does It Take To Replace A Kitchen Sink?
Replacing a kitchen sink typically takes 2 to 4 hours. This depends on your experience and the complexity of plumbing. Preparing the area and allowing sealant to dry may add extra time. Plan accordingly for a smooth replacement process.
Can I Replace A Kitchen Sink Myself Safely?
Yes, you can replace it yourself if you follow safety steps. Turn off water supply and use proper tools. Take care when handling plumbing connections and sharp edges. If unsure, consult a professional to avoid leaks or damage.
Conclusion
Replacing a kitchen sink can seem tough at first. Step-by-step, it becomes easier. Take your time and follow each part carefully. Use the right tools and check for leaks. A new sink can improve your kitchen’s look and function. Remember, safety matters—turn off water before you start.
With patience, you can do this yourself. Enjoy your fresh, clean kitchen space once done. Simple tasks like this save money and build confidence. Ready to try? Your kitchen will thank you!
Disclosure: As an Amazon Associate, I may earn from qualifying purchases at no extra cost to you. Amazon and the Amazon logo are trademarks of Amazon.com, Inc, or its affiliates.
