
I’ve sharpened hundreds of chef knives in home kitchens and busy restaurants. The difference a sharp blade makes is huge: cleaner cuts, safer prep, faster cooking. In this guide, I’ll show you how to sharpen a chef knife the right way, with clear steps, smart tips, and the small details that matter. We’ll cover sharpening methods, angles, grit choices, and mistakes to avoid, so you can restore any knife with confidence. If you’ve ever wondered how to sharpen a chef knife without guesswork, you’re in the right place.
Why A Sharp Knife Matters
A sharp chef knife is safer than a dull one. It grips the food instead of slipping. It also makes cleaner cuts, which keeps ingredients fresh longer. In tests and pro kitchens, sharp knives help reduce fatigue, speed up prep, and improve accuracy.
A dull knife crushes and tears. It forces you to push harder, which raises the risk of slips. With a sharp edge, the blade does the work. Your job is to guide it.
Tools You Need To Get Started
You do not need a full workshop. A few reliable tools are enough.
- Whetstone set: One coarse stone around 400–800 grit for dull edges, and one medium/fine stone around 1000–3000 grit for the main sharpening and refining.
- Honing rod: Ceramic or steel to realign the edge between sharpenings.
- Strop: Leather or balsa with a touch of compound for a mirror edge.
- Marker and towel: A permanent marker to check your angle; a damp towel to keep the stone from sliding.
- Water or oil: Use what your stone requires. Most kitchen stones are water stones.

Know Your Angles And Grits
Angle and grit decide your result. For most Western chef knives, aim for 15–20 degrees per side. Many Japanese knives like 12–15 degrees. A smaller angle feels sharper but can be more delicate. A slightly wider angle improves durability.
- Coarse grit (400–800): Repairs chips, resets an edge, or fixes very dull knives.
- Medium grit (1000–2000): Builds a sharp working edge.
- Fine grit (3000–6000+): Polishes and refines for a smoother cut.
- Strop: Removes tiny burrs and boosts push-cut performance.
Tip: Color the bevel with a marker. A few strokes will show if you are hitting the edge. If the ink stays at the edge, adjust your angle.
Step-By-Step: How To Sharpen On A Whetstone
Here is the method I teach new cooks. It is simple, repeatable, and fast.
- Soak or splash the stone as recommended. Set it on a damp towel for grip.
- Set your angle. Think two stacked coins under the spine for about 15 degrees on many knives.
- Start on the coarse or medium stone as needed.
- Sharpen the first side. Draw the edge from heel to tip across the stone, like you are trying to slice a thin layer off the top. Keep the angle steady. Use light to moderate pressure.
- Count passes. Do 10–15 smooth strokes per side. Then switch sides.
- Feel for a burr. Gently run your fingers from spine to edge. You should feel a tiny wire at the edge. Develop a burr along the full length.
- Move to the finer stone. Repeat with lighter pressure. Your goal is to refine and reduce the burr.
- Use edge-leading strokes to finish. Light, slow passes help align the edge.
- Deburr. Lightly strop on the stone’s surface with trailing strokes, then on a leather strop if you have one.
- Rinse, dry, and test on paper or a tomato.
Personal tip: When I trained line cooks, we used a rhythm. Four sections of the blade—heel, mid, mid-tip, tip—with 8 strokes each per side. It builds even edges fast.
:max_bytes(150000):strip_icc()/GettyImages-945578694-2000-86528074ace84bf2b1300915143ff381.jpg)
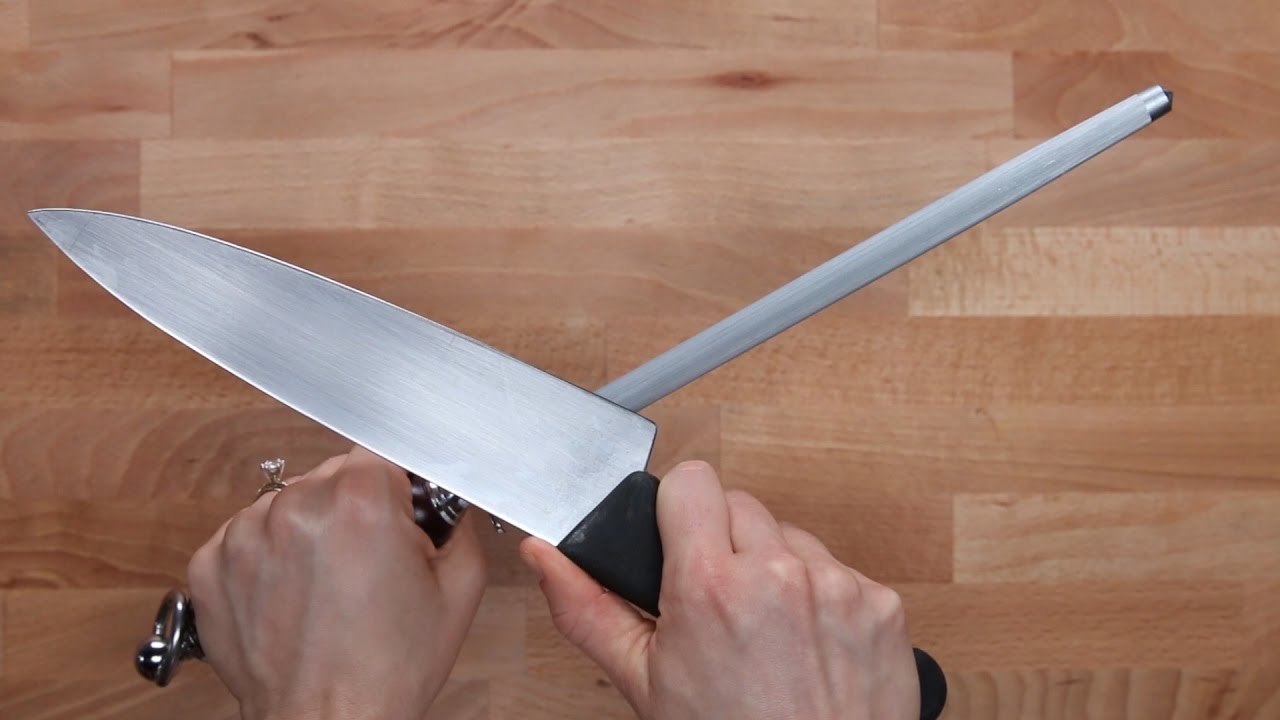
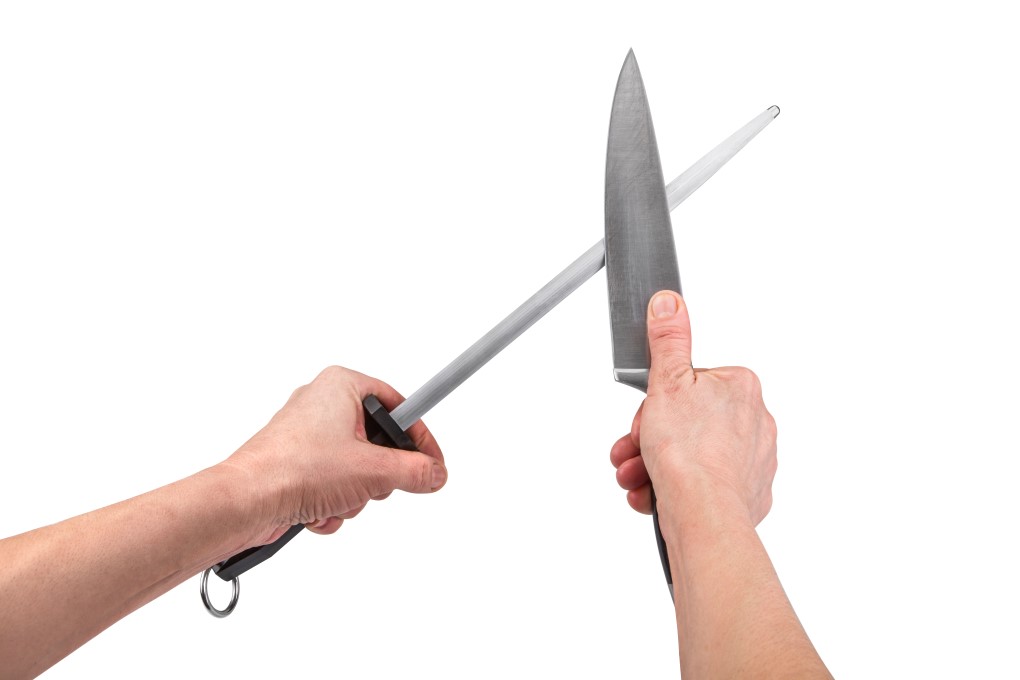
How To Use A Honing Rod The Right Way
Honing is not sharpening. It does not remove much metal. It realigns the edge, which keeps your knife feeling sharp longer.
- Hold the rod vertical with the tip on a towel.
- Set a 15–20 degree angle.
- Draw the knife down and across the rod, heel to tip.
- Alternate sides for 6–8 passes.
- Use light pressure. Fast is not better; smooth is better.
Use a ceramic rod for harder steels or when you want a touch more bite. I hone before each prep session and sharpen on stones once the rod stops helping.
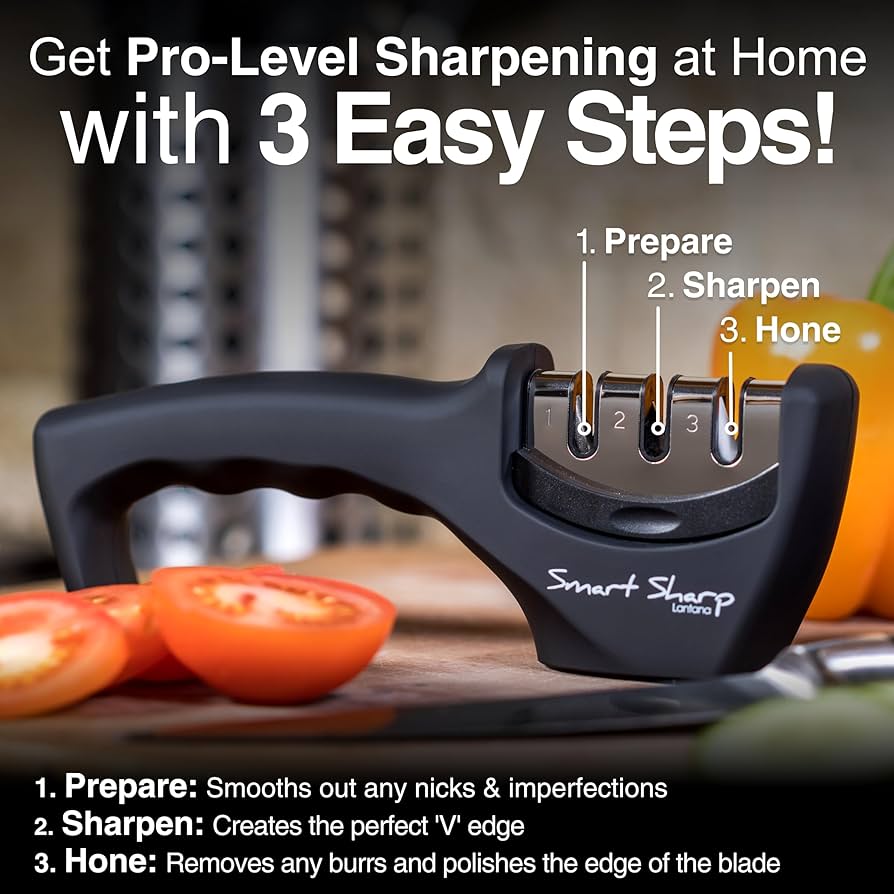
Pull-Through Sharpeners: Pros And Cons
These tools are fast and easy. They can rescue a dull knife in seconds. But they remove more metal and offer less control over angle and finish.
- Use them for quick fixes or budget knives.
- Avoid them on high-end blades or thin Japanese profiles.
- If you use one, finish with a ceramic slot if available, and hone lightly.
I keep one in a vacation rental kit. At home, the whetstone gives better edges and longer blade life.
Safety, Setup, And Ergonomics
Sharpening should feel calm and controlled. Set up so the blade cannot slip and your hands stay clear.
- Stabilize the stone. Use a base or a damp towel.
- Dry your hands often. Wet hands lose grip.
- Work at counter height that lets your shoulders relax.
- Focus. No calls, no rush. Ten focused minutes beats thirty distracted ones.
Common Mistakes To Avoid
I have made all of these. You do not need to.
- Rocking the angle: Keep the spine steady. Use your off-hand fingers to anchor the blade on the stone.
- Skipping grits: If you need repair, start coarse. Do not jump from very coarse to very fine.
- Over-pressure: Let the stone cut. Heavy pressure creates deep scratches and a ragged edge.
- Not raising a full burr: If you do not feel it from heel to tip, the edge will not peak.
- Forgetting to deburr: A wire edge feels sharp for minutes, then folds. Always deburr.
How To Test Sharpness Safely
Skip dangerous tricks. Use simple, safe checks.
- Paper test: Slice a sheet of copy paper from the heel. A sharp edge glides without tearing.
- Tomato test: The skin should part with almost no pressure.
- Arm hair test: Lightly shave a small patch. If it glides, you are dialed in.
- Fingernail test: Very gently touch the edge to a nail. A sharp edge bites with no slide.
If the tip snags or tears in one spot, go back and do a few light passes on that section.
Care, Storage, And How Often To Sharpen
A good edge lasts with smart care.
- Hone often. Quick touch-ups keep the edge aligned.
- Hand wash and dry right away. Dishwashers dull blades fast.
- Use wood or soft plastic boards. Glass or stone ruins edges.
- Store on a magnetic strip or in a sheath. Avoid loose drawers.
- Sharpen on stones every few weeks if you cook daily. Less often for lighter use.
From my experience on the line, a chef knife used eight hours a day needed a light stone session weekly. Home cooks can go four to eight weeks with regular honing.
Frequently Asked Questions Of How To Sharpen A Chef Knife
How Do I Know My Knife Needs Sharpening?
If it slips on tomato skin, crushes herbs, or tears paper, it is time. If honing does not restore bite, move to the stones.
What Angle Should I Use?
Aim for 15–20 degrees per side for most Western knives and around 12–15 degrees for many Japanese blades. Keep it consistent.
How Long Should Sharpening Take?
A routine touch-up takes 5–10 minutes. A full repair on a very dull or chipped edge can take 20–30 minutes.
Do I Need An Expensive Stone?
No. A reliable 1000/3000 combo water stone covers most needs. Add a 400–800 stone for repairs and a strop for polish if you want more refinement.
Is Honing The Same As Sharpening?
No. Honing realigns the edge and is for maintenance. Sharpening removes metal to create a new edge.
Can I Sharpen A Serrated Knife The Same Way?
No. Serrated knives need a tapered rod that matches each scallop. Do not use flat stones or pull-through tools on serrations.
Why Does My Edge Fade So Fast?
Possible causes include hard cutting boards, dishwasher use, poor deburring, too-thin angle for your steel, or skipping regular honing.
Conclusion
A sharp chef knife changes how you cook. Use the right angle, the right grit, and a steady hand. Build a burr, refine it, then deburr and maintain with a quick hone. With a simple setup and a few calm minutes, you can keep your knife razor-ready for months. Now it is your turn: set up your stone, choose your angle, and bring your blade back to life. Want more tips like this? Subscribe, leave a comment with your toughest sharpening question, or share your before-and-after.
Watch This Video on how to sharpen a chef knife
Disclosure: As an Amazon Associate, I may earn from qualifying purchases at no extra cost to you. Amazon and the Amazon logo are trademarks of Amazon.com, Inc, or its affiliates.
