
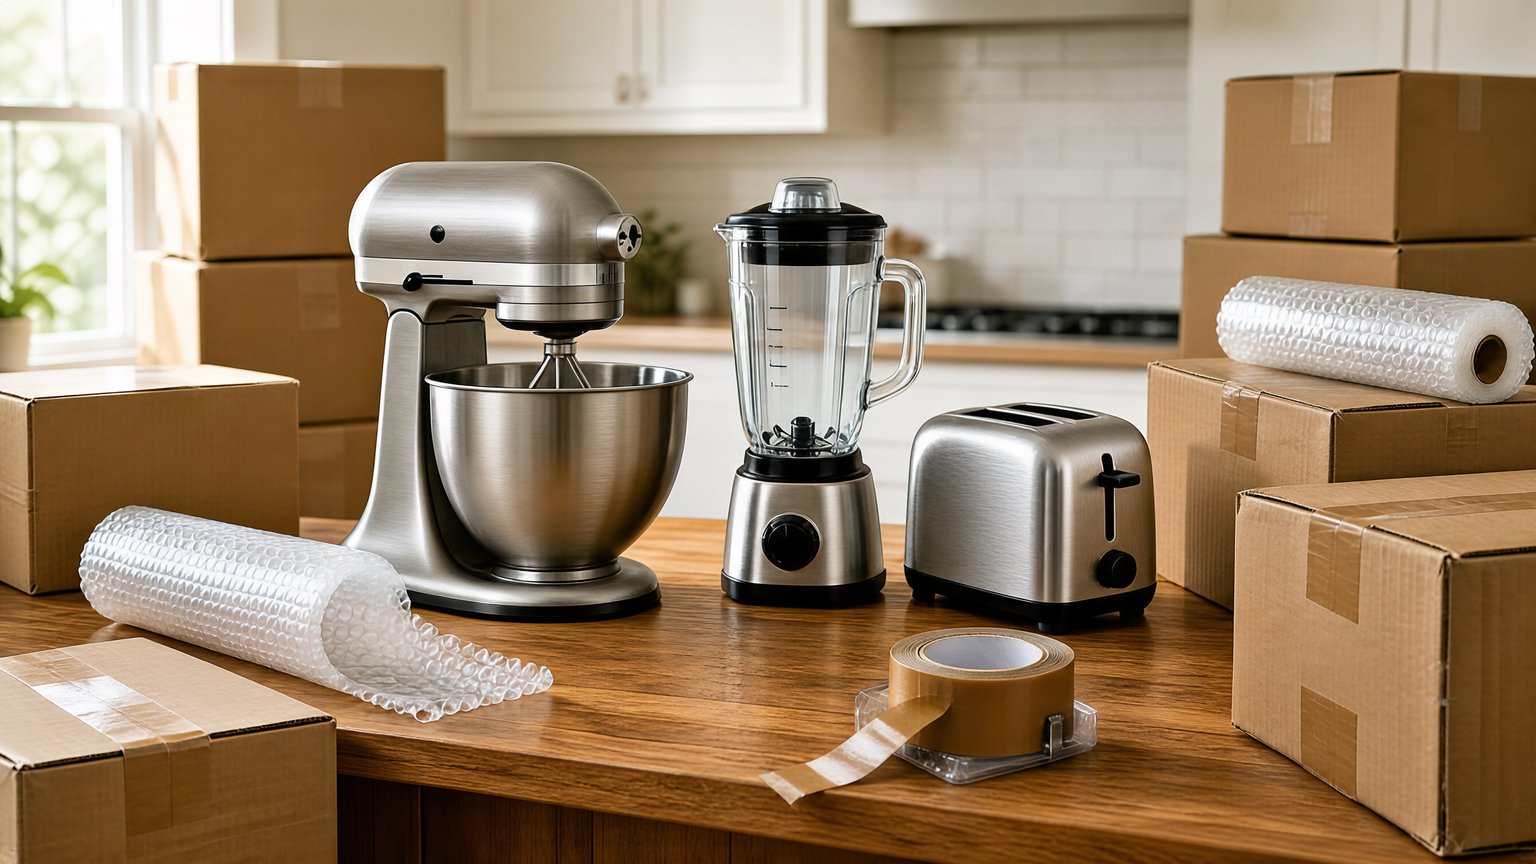
To pack small kitchen appliances for moving efficiently, you must prioritize protective padding, secure cord management, and the use of appropriately sized, heavy-duty boxes to prevent damage during transit. By treating items like blenders, toasters, and coffee makers as fragile electronics rather than simple kitchen tools, you significantly reduce the risk of mechanical failure or cosmetic breakage. Proper preparation involves cleaning every device thoroughly to prevent mold, wrapping components individually, and using high-quality cushioning materials to absorb impact during the loading and unloading process.
Key Takeaways
- Clean and dry all appliances completely to prevent odors or mold growth during storage.
- Detach all removable parts, such as glass carafes, trays, and blades, to wrap them separately.
- Use double-walled, heavy-duty boxes to provide structural integrity for heavier appliances.
- Label every box clearly with its contents and the room it belongs to in your new home.
- Fill all empty gaps inside boxes with packing paper or bubble wrap to prevent internal shifting.
Preparation Before You Pack
Before moving, ensure every appliance is completely unplugged and cooled down. Empty any residual water from reservoirs or crumbs from trays to avoid messes. Wipe down the exterior with a mild cleaner and allow the items to air dry for at least twenty-four hours.
Moisture trapped inside a sealed box can lead to rust or electrical shorts. Organizing your kitchen by grouping items by size will help you determine how many boxes you need to procure before your moving day arrives.
How To Pack Small Kitchen Appliances
Packing these items requires a systematic approach. Start by selecting a box slightly larger than the appliance. Create a base layer of crumpled packing paper at the bottom of the box to serve as a shock absorber. Wrap the appliance itself in a layer of bubble wrap, securing it firmly with packing tape.
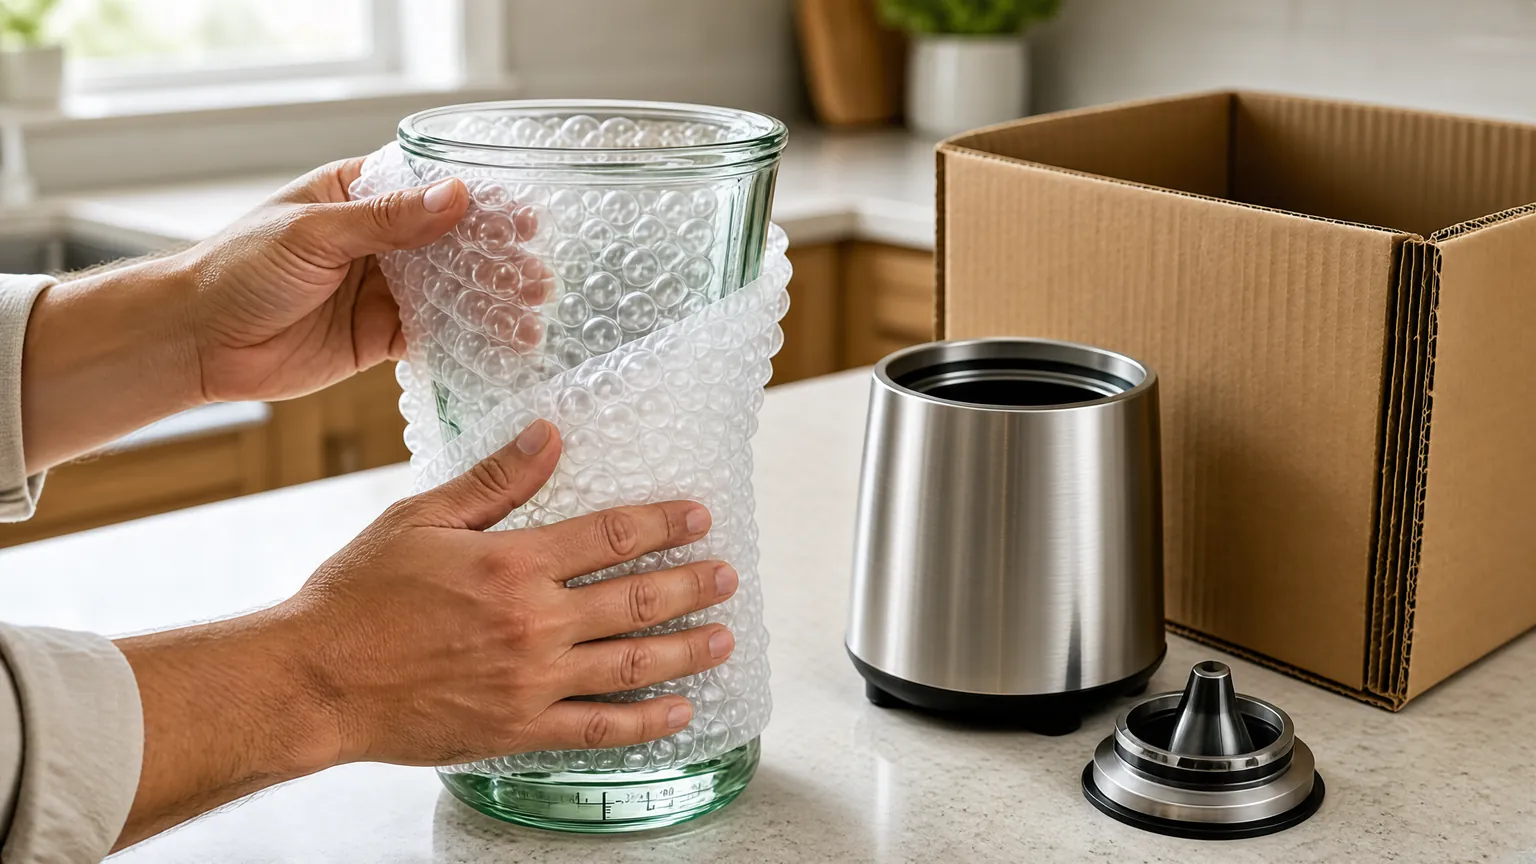
Once placed in the box, fill the remaining voids with more paper or air pillows. If an item has a glass component, such as a blender jar or a toaster oven tray, wrap it in at least two layers of bubble wrap before placing it in the box.
| Appliance Type | Primary Material | Wrapping Method |
|---|---|---|
| Toaster | Metal/Plastic | Bubble wrap + paper fill |
| Coffee Maker | Glass/Plastic | Remove carafe; wrap separately |
| Blender | Glass/Metal | Separate base and glass jar |
| Food Processor | Plastic/Metal | Remove blade; store in box |
Managing Cords And Attachments
Loose cords are a common hazard that can cause scratches or get tangled with other items. Always unplug the cord and coil it neatly, securing it with a rubber band or a twist tie. Avoid wrapping the cord tightly around the appliance, as this can damage the internal wiring over time.
According to the Electrical Safety Foundation International, inspecting cords for fraying or damage before storage ensures that you don’t accidentally plug in a hazardous, damaged device at your new residence. Place all small, loose parts like whisks, beaters, or measuring cups into a sealable plastic bag and tape it to the main appliance or place it inside the same box.
Choosing The Right Packing Materials
Using the correct supplies is the difference between an appliance arriving intact or broken. Avoid using old newspapers, as the ink can transfer onto surfaces and leave stains that are difficult to remove. Instead, invest in clean packing paper or bubble wrap.
Heavy-duty boxes are essential because kitchen appliances are often denser than other household goods. If you’re using plastic bins, ensure they’re stackable and have a secure lid. For delicate items like high-end espresso machines, consider using the original box and foam inserts if you saved them.
How To Protect Glass Components
Glass components, such as blender pitchers, coffee carafes, and toaster oven doors, are the most vulnerable parts of your kitchen gear. Wrap these items in multiple layers of bubble wrap, ensuring the corners are well-protected. Place them in a separate box if they’re heavy, or nest them in the center of a box surrounded by softer, non-breakable items. Never place a heavy glass item on top of a lighter plastic component, as the pressure during stacking can cause cracks.
Organizing Your Moving Boxes
Create a manifest for your boxes to track which appliances are stored where. Use a permanent marker to label every side of the box, noting if the contents are “Fragile” or “Kitchen.” If you have a large number of appliances, consider grouping them by frequency of use.
Items you’ll need immediately upon arrival, such as a coffee maker or toaster, should be placed in a “Priority” box that’s loaded last and unloaded first. This strategy minimizes the stress of setting up your new kitchen.
Handling Heavy Or Bulky Items
Some appliances, like stand mixers or large food processors, are deceptively heavy. These items should be placed at the bottom of the box to provide a stable foundation. Don’t overload these boxes; keep the weight under fifty pounds to ensure they can be lifted safely without damaging the bottom seam of the carton. If you find a box becoming too heavy, remove the contents and distribute them into a smaller container.
Safety Tips During Transit
Warning: Always keep boxes containing glass or fragile components upright and label them with clear “This Side Up” arrows. During the loading process, ensure that heavy appliance boxes are placed on the floor of the moving truck, not stacked on top of lighter boxes.
Use tie-down straps to prevent the boxes from sliding during sharp turns or sudden stops. If you’re moving in extreme temperatures, be aware that plastic components can become brittle in freezing weather or soft in high heat.
Troubleshooting Common Packing Issues
If you find that an appliance is an awkward shape, don’t try to force it into a box that’s too small. Instead, use a larger box and increase the amount of padding. If you’re worried about the weight, use two smaller boxes rather than one large one. If you notice a missing part, such as a lid or a specialized tool, don’t pack the appliance until you have located it or secured a replacement.
| Issue | Potential Cause | Solution |
|---|---|---|
| Box Bottom Sagging | Too much weight | Use double-walled, smaller boxes |
| Broken Glass | Poor cushioning | Use extra bubble wrap layers |
| Tangled Cords | Improper storage | Use zip ties or rubber bands |
| Moisture/Mold | Damp appliance | Ensure 24-hour air drying |
FAQs Of How To Pack Small Kitchen Appliances For Moving
Should I keep the original packaging?
Yes, the original manufacturer’s box and molded styrofoam inserts provide the best protection for small appliances. They’re specifically designed to absorb shock and prevent movement during shipping. If you have kept the original boxes, always use them. If not, prioritize high-quality bubble wrap and heavy-duty cardboard boxes to mimic the protection that original packaging would have provided during the move.
How can I stop appliances from shifting?
The best way to prevent shifting is to fill every empty space inside the box. Use crumpled packing paper, air pillows, or even clean kitchen towels to create a snug fit. If you shake the box gently and feel or hear anything moving, you need to add more padding. A tightly packed box is significantly less likely to suffer damage than one with loose items inside.
Is it safe to pack appliances in plastic bins?
Plastic bins are excellent for storage because they’re moisture-resistant and durable. However, ensure the plastic is high-quality and not prone to cracking under weight. When packing appliances in bins, still wrap each item in bubble wrap as you would for a cardboard box. Avoid overstuffing bins, as the lids can pop off if the weight causes the sides of the bin to bulge outward.
How do I label boxes for the kitchen?
Labeling should be clear and visible from multiple angles. Write the contents on the top and at least two sides of each box using a thick permanent marker. Include the room name, such as “Kitchen,” and a brief list of items, like “Blender, Toaster, Food Processor.” If the box contains fragile glass components, write “FRAGILE” in large, bold letters on all sides to alert movers to handle the package with extra care.
Can I pack cords inside the appliance?
It’s generally not recommended to store cords inside the appliance, especially if the appliance has a storage compartment that isn’t secure. Cords can move around during transit and scratch the interior surfaces or break small plastic clips. It’s safer to coil the cord neatly, secure it with a rubber band, and tape it to the outside of the appliance or place it in a separate bag.
Conclusion
Properly preparing your kitchen for a move takes time, but the effort ensures your valuable appliances arrive in working order. By following these steps, you safeguard your investment and simplify the setup process in your new home. Start by gathering your packing materials today so you can begin wrapping your items at least one week before your scheduled moving date.
Disclosure: As an Amazon Associate, I may earn from qualifying purchases at no extra cost to you. Amazon and the Amazon logo are trademarks of Amazon.com, Inc, or its affiliates.
