
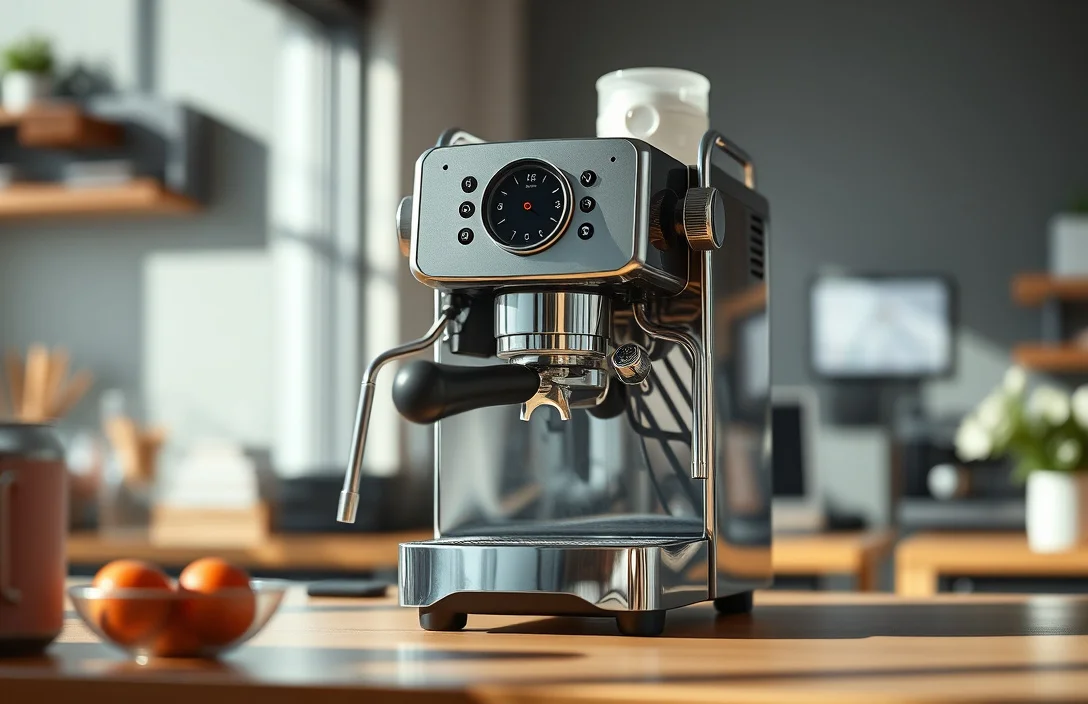
Backflushing without a disk is one of the quickest ways to maintain flavor consistency and keep the brew path clean. When done correctly, the group head, three-way valve, and shower screen eliminate oily buildup in under five minutes. This guide provides a practical method, a checklist of prerequisites, and step-by-step instructions to help you maintain peak performance.
Backflushing an espresso machine without a disk requires a blind basket and the right detergent or rinse. You’ll use brief, high-pressure bursts to push oils back through the internals rather than flushing them forward, resulting in brighter shots with less channeling. If your machine lacks a three-way valve, you’ll need a gentler cleaning approach.
Backflushing involves two techniques: water-only rinses and detergent backflushes. Water-only cleans loosen oils and grounds, while detergent backflushes dissolve baked-on oils for a deeper clean. Most home setups should start with weekly water-only cycles and reserve detergent cleans for monthly or as needed. For a more thorough clean, add a small amount of cleaning powder to the blind basket during the process.
Page Contents
ToggleKey Takeaways
- Core technique. A blind basket blocks the exit, creating backpressure that forces dirty water through the group internals.
- Required gear. Essential items include a blind basket, compatible portafilter, and cleaning powder or detergent; expect to spend under $20.
- Timing rule. Use 10-15 second pump bursts with 5 seconds of rest, repeating 5-10 cycles per cleaning pass.
- Safety check. Only machines with a 3-way solenoid valve should be backflushed; verify valve behavior before proceeding.
- Rinse objective. Finish with plain water cycles until the flow is clean and the valve releases freely.
- Cadence guidance. Perform water-only backflushes weekly; do detergent cleans monthly or more frequently for heavy use.
Backflushing Procedure
Backflushing without a disk is a straightforward maintenance routine you can complete in under five minutes with basic equipment. This guide outlines a clear, repeatable procedure, a reliable cadence, and practical troubleshooting tips.
The steps below take you from prep to rinse, ensuring you don’t overstep safe limits. You’ll find practical notes alongside the steps and a compatibility chart to help you choose the right blind filter.
What You Need for Backflushing
A compact kit makes backflushing efficient. You need a blind basket that fits your portafilter, a compatible gasket, a small amount of cleaning powder (Cafiza, Cafetto, or Puly Caff), a clean cloth, and access to hot water. Keep a timer handy to track intervals, and have a spare portafilter ready to swap in the blind basket without disrupting workflow.
For a quieter, more predictable clean, consider investing in a dedicated detergent backflush kit. A single container of cleaner typically covers over 100 backflush cycles, keeping costs under a dollar per clean. For most home users, a basic blind basket and one cleaner option suffice.
Check your machine’s manual for compatibility. Most home machines with a three-way solenoid valve support backflushing. If unsure, run a quick test with water-only cycles and listen for pressure release and a clean drip tray after the pump stops. A hissing sound and a small amount of water draining back into the tray indicate you’re on the right track. If not, skip the detergent step and focus on traditional group-head cleaning methods.
How Often to Backflush
Frequency depends on usage and machine type. For heavy daily use, a detergent backflush weekly is reasonable, along with water-only backflushes after every shot session. Most home users should aim for a weekly detergent backflush plus daily or session-based water-only rinses. For those pulling fewer shots, a monthly detergent backflush usually suffices; you can substitute this with a thorough cleaning every 2-4 weeks if oils linger.
A practical schedule looks like this: after every session, perform a water-only backflush; weekly, conduct a detergent backflush; every 2-4 weeks, give a full chemical clean if buildup persists; monthly, soak the basket to refresh internal surfaces. Adjust based on taste and how quickly your machine collects oils.
Step-by-Step Backflush Procedure
Follow these steps from heating to rinsing, ensuring each one is performed quickly and safely. If you’re new to backflushing, practice with a dry run to confirm the blind basket seating before adding detergent.
Step 1: Heat Up the Machine
Heat the group head to operating temperature before starting any backflush. A hot head softens oils and speeds up dissolution. Run a small amount of plain water through the group head to warm the brew path. This reduces the chance of thermal shock to seals and helps you gauge the water’s appearance as it exits.
Typically, 60-90 seconds of warm-up is sufficient for home machines. The goal is consistent temperature across the group head to prevent shocking seals when creating backpressure. After heating, wipe the exterior clean.
Step 2: Set Up the Blind Basket
Remove the regular filter basket and install the blind basket in the portafilter. For a detergent backflush, add roughly 1/2 teaspoon (1-2 grams) of cleaning powder. For a water-only rinse, leave the blind basket empty. Fit the portafilter back into the group head and lock it in place securely.
Run a test cycle with just hot water to ensure the blind basket seats flush and there are no leaks around the gasket. A clean seal redirects flow properly. If there’s a leak, pause and reseat the basket or replace the gasket.
Step 3: Lock In and Brew
With the blind basket in place, start the brew cycle in short bursts. Aim for 10-15 seconds of pumping, then a 5-second pause, repeating 5-10 times. If you have a gauge, monitor for a quick rise and plateau during the cycle. The goal is to build backpressure without overstressing seals.
During the chemical cycle, you’ll see the water initially redden in the drip tray as oils are flushed, gradually clearing to a pale color. If the water remains muddy after several bursts, pause and inspect the portafilter seal or basket fit. After the chemical cycles, proceed to rinsing.
Step 4: Release and Repeat
After the detergent portion, remove and reinsert the portafilter to begin the rinse stage. Run 10 seconds on, 5 seconds off for 5-10 cycles, or until the water exiting the group head runs clear and there’s no residue in the drip tray. The aim is to purge the cleaner and lift oils from the group head, shower screen, and solenoid.
If brown water persists after several cycles, extend the rinse. Stop when the water runs clear and the valve releases normally, then proceed to a final plain-water rinse to complete the procedure.
Step 5: Rinse Cycle
Finish with a final plain-water rinse to flush any remaining cleaner and verify normal three-way valve behavior. Run several short bursts until the drip tray shows clean, clear water with no oily film. This signals that the backflush cycle is complete.
In practice, a complete backflush (chemical plus rinse) takes just a few minutes. If your machine is new to backflushing, practice with water-only cycles a couple of times to get a feel for rhythm and timing. Always recheck the gasket after cleaning for wear or damage.
Step-by-Step Backflush Procedure (continued)
Here are additional hints to keep the process smooth. Keep a timer handy and log the number of cycles you run. If you notice odd behavior – excessive pressure fluctuations, strange noises, or slow drainage – stop and recheck seals and the blind basket seating.
Step 1: Heat Up the Machine
- Pre-warm the group head for better oil release and a predictable rinse.
- Run 1-2 ounces of plain hot water through the group head to soften residue.
- Wipe the area clean to avoid picking up dust or coffee oils.
Step 2: Set Up the Blind Basket
- Remove the regular filter basket; insert the blind basket that matches your portafilter.
- For a detergent cycle, add 1/2 teaspoon (1-2 grams) of cleaning powder.
- Lock the portafilter in place securely.
Step 3: Lock In and Brew
- Begin with 10-15 seconds of pump action; rest for 5 seconds; repeat 5-10 cycles.
- Watch for pressure indicators or audible cues to confirm backpressure is building without overstressing seals.
- If you have a gauge, stop when it reaches a plateau or when the flow clears.
Step 4: Release and Repeat
- Remove, reseat, and run the cycles again until the water clears.
- Use 10 seconds on, 5 seconds off for the rinse portion, repeating until clear.
Step 5: Rinse Cycle
- Run several plain-water cycles to flush any cleaner from the system.
- Confirm the three-way valve releases pressure normally and the water runs clear.
Blind Filter Compatibility Chart
Not all blind filters fit every machine. Match the blind filter and gasket to your portafilter and group head to create a proper seal against backpressure without leaks. The compatibility chart below helps you select the right blind filter for your setup.
| Scenario | Blind basket type | Notes |
|---|---|---|
| 3-way solenoid machines (typical home/prosumer) | Solid blind basket with gasket | Most reliable for standard 58-mm portafilters; ensure flush seating |
| Compact machines (53-54 mm) | Smaller blind basket or blind with modified gasket | Check manufacturer guidance for proper seal geometry |
| Machines with unusual basket sizes | Custom blind or backflushing membrane | Requires careful gasket fit to avoid leaks or valve strain |
| Machines without a three-way valve | Not recommended for true backflush | Use group-head brush and blind basket for surface cleaning only |
Recap of the Article
Backflushing without a disk is a quick maintenance step that enhances flavor and consistency. Confirm your machine has a three-way valve to backflush; if not, focus on cleaning the group head with a blind basket and brush. Gather a blind basket, compatible gasket, and cleaner or plain water, then heat the machine, set up the blind basket, and run short, high-pressure bursts. After detergent cycles, rinse with plain water until the flow is clear and the valve releases normally. Use a regular cadence: water-only rinses after each session, weekly detergent cleans, and deeper cleans every 2-4 weeks as needed. The compatibility chart helps you choose the right blind filter for your portafilter size, keeping the process safe and effective.
In practice, you’ll develop a rhythm that suits your machine. With a clear sequence and quick rinses, backflushing becomes a 5-minute maintenance habit that pays off in every shot. Expect cleaner oils, steadier extraction, and a more consistent espresso profile.
FAQ
Is backflushing safe on machines without a three-way valve?
Backflushing relies on a three-way valve to relieve pressure. If your machine lacks this valve, don’t backflush; instead, clean the group head with a brush and a blind basket for surface cleaning only.
How long does a typical backflush take?
A standard backflush takes 3-6 minutes, depending on your machine and the number of cycles. Start with 5-7 cycles for the detergent part and finish with 3-5 rinse cycles to confirm clear water and normal valve behavior.
How do I know I’m using the right blind filter?
Use a blind basket that matches your portafilter diameter and a gasket that seats flush. If unsure, consult the manufacturer’s manual or contact support to confirm compatibility.
Can I backflush every day?
Water-only backflushes after each session are common and safe. Detergent backflushes are typically weekly or monthly, depending on usage. Avoid exceeding the recommended cadence to prevent gasket wear or valve stress.
What are the signs I over-clean or overuse cleaning powder?
Signs include flaky gaskets, unusual leaks, or persistent off flavors after backflushing. Reduce the frequency of chemical cleaning and ensure your dosing is correct. Always flush thoroughly with water after detergent cycles.
Next Actions
- Verify your machine’s compatibility with backflushing by consulting the owner’s manual or manufacturer support.
- Gather a blind basket, compatible gasket, and cleaning powder or detergent.
- Establish a backflush cadence that matches your usage and taste, refining timing by listening to your machine and observing flow color.
- Use the Blind Filter Compatibility Chart to select the right blind basket and gasket for your portafilter size.
Disclosure: As an Amazon Associate, I may earn from qualifying purchases at no extra cost to you. Amazon and the Amazon logo are trademarks of Amazon.com, Inc, or its affiliates.
