
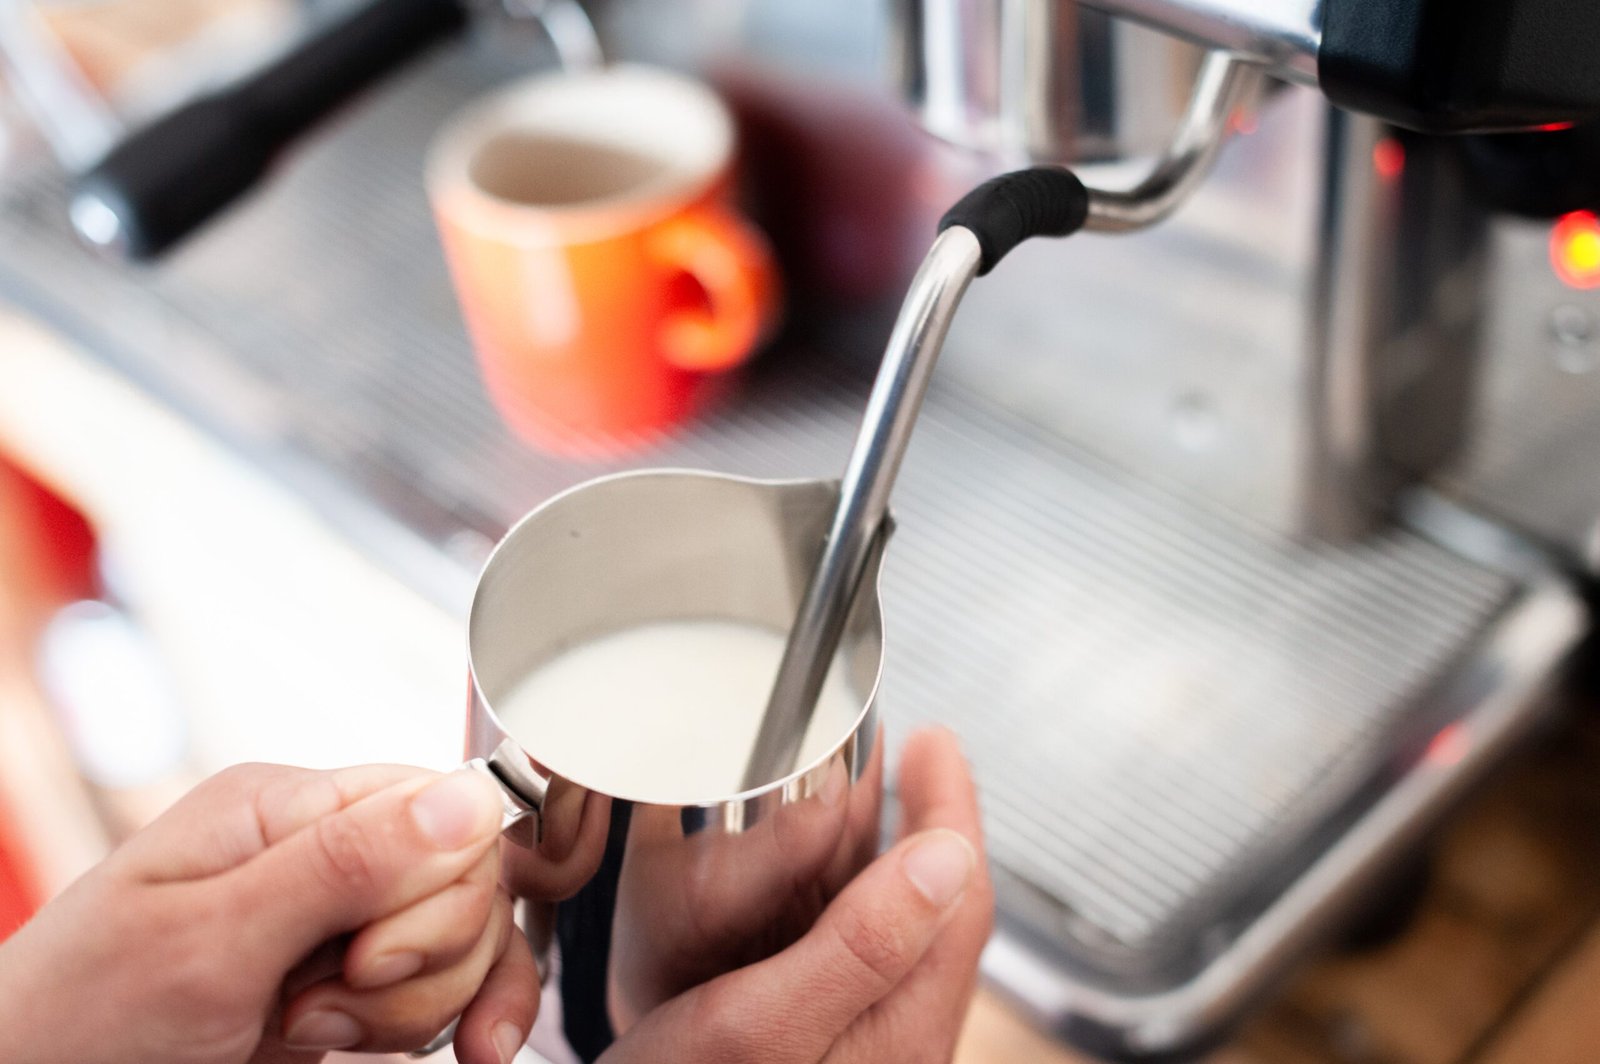
You can steam milk for lattes or cappuccinos using an espresso machine by positioning the steam wand just below the surface of cold milk in a clean stainless steel pitcher. Practicing with your specific steam pressure is essential to reach a final temperature between 140°F and 150°F for creamy, café-quality microfoam.
Equipment needed to steam milk
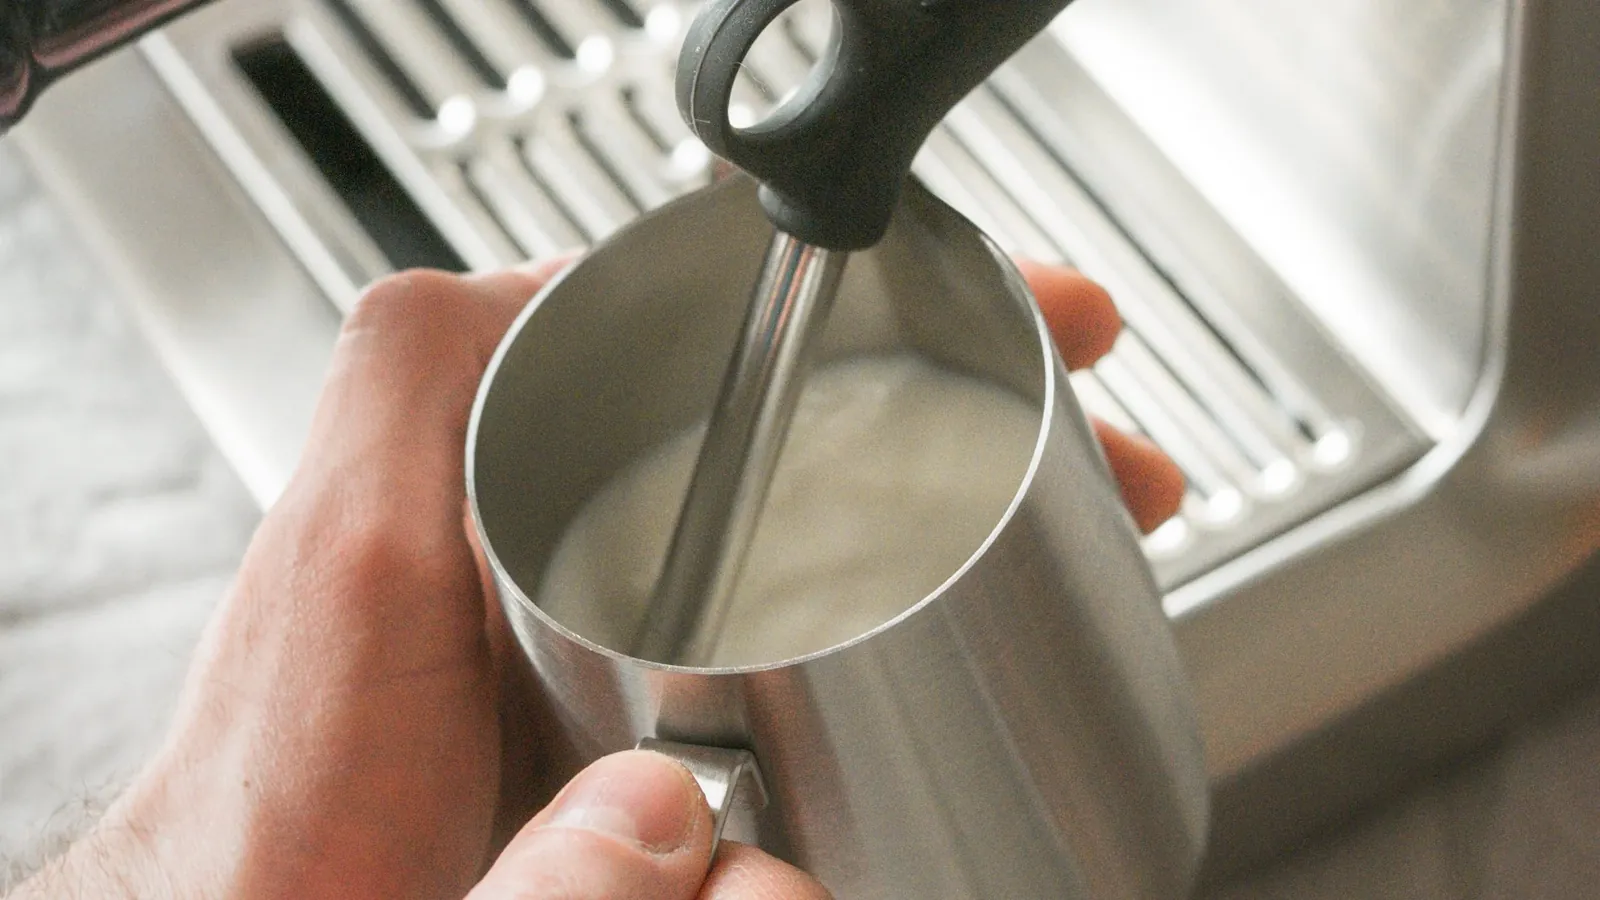
To get the right texture, you need a few specific items to ensure your milk is safe and properly aerated. Using the wrong tools will make it impossible to create the tiny bubbles needed for a smooth, glossy finish.
- Stainless steel pitcher: Choose a size that allows you to fill it to just below the spout.
- Cold milk: Always start with fresh, refrigerated milk (dairy or plant-based) to give yourself enough time to texture it before it gets too hot.
- Microfiber cloth: Keep this damp and dedicated only to wiping the wand immediately after use to prevent milk buildup.
- Thermometer: Use a digital or clip-on gauge to monitor the temperature, as milk proteins begin to break down significantly above 160°F.
A small pitcher is best for a single drink, while a larger one helps if you’re making multiple lattes. If you’re using a professional machine, check your manual for specific steam boiler pressures, as some commercial units operate at higher bars than home models. You can find general safety guidance for food handling through the USDA Food Safety and Inspection Service.
Steps to Steam Milk with an Espresso Machine
- Purge the steam wand by turning it on for two seconds into a cloth to clear out any condensed water.
- Fill your cold pitcher with milk to the bottom of the spout indentation, which is usually about one-third full.
- Submerge the tip of the wand just below the milk surface, slightly off-center to create a whirlpool effect.
- Open the steam valve fully and listen for a gentle “paper-tearing” sound, which indicates air is being introduced.
- Raise the pitcher slightly after a few seconds to submerge the tip further, stopping the tearing sound while keeping the milk spinning.
- Turn off the steam once the pitcher becomes too hot to touch comfortably, or when your thermometer reads 145°F.
- Wipe the wand immediately with your damp cloth and purge it again for one second to clear any milk residue inside the tip.
- Tap the pitcher firmly on the counter to pop any large bubbles and swirl the milk to maintain a glossy, wet-paint consistency.
Careful: Never let the steam wand tip touch the bottom of the pitcher, as this vibrates the metal and prevents a vortex. Tip: If the milk is too thin, you didn’t add enough air at the start; if it’s too foamy, you added air for too long.
Adjusting for Your Setup
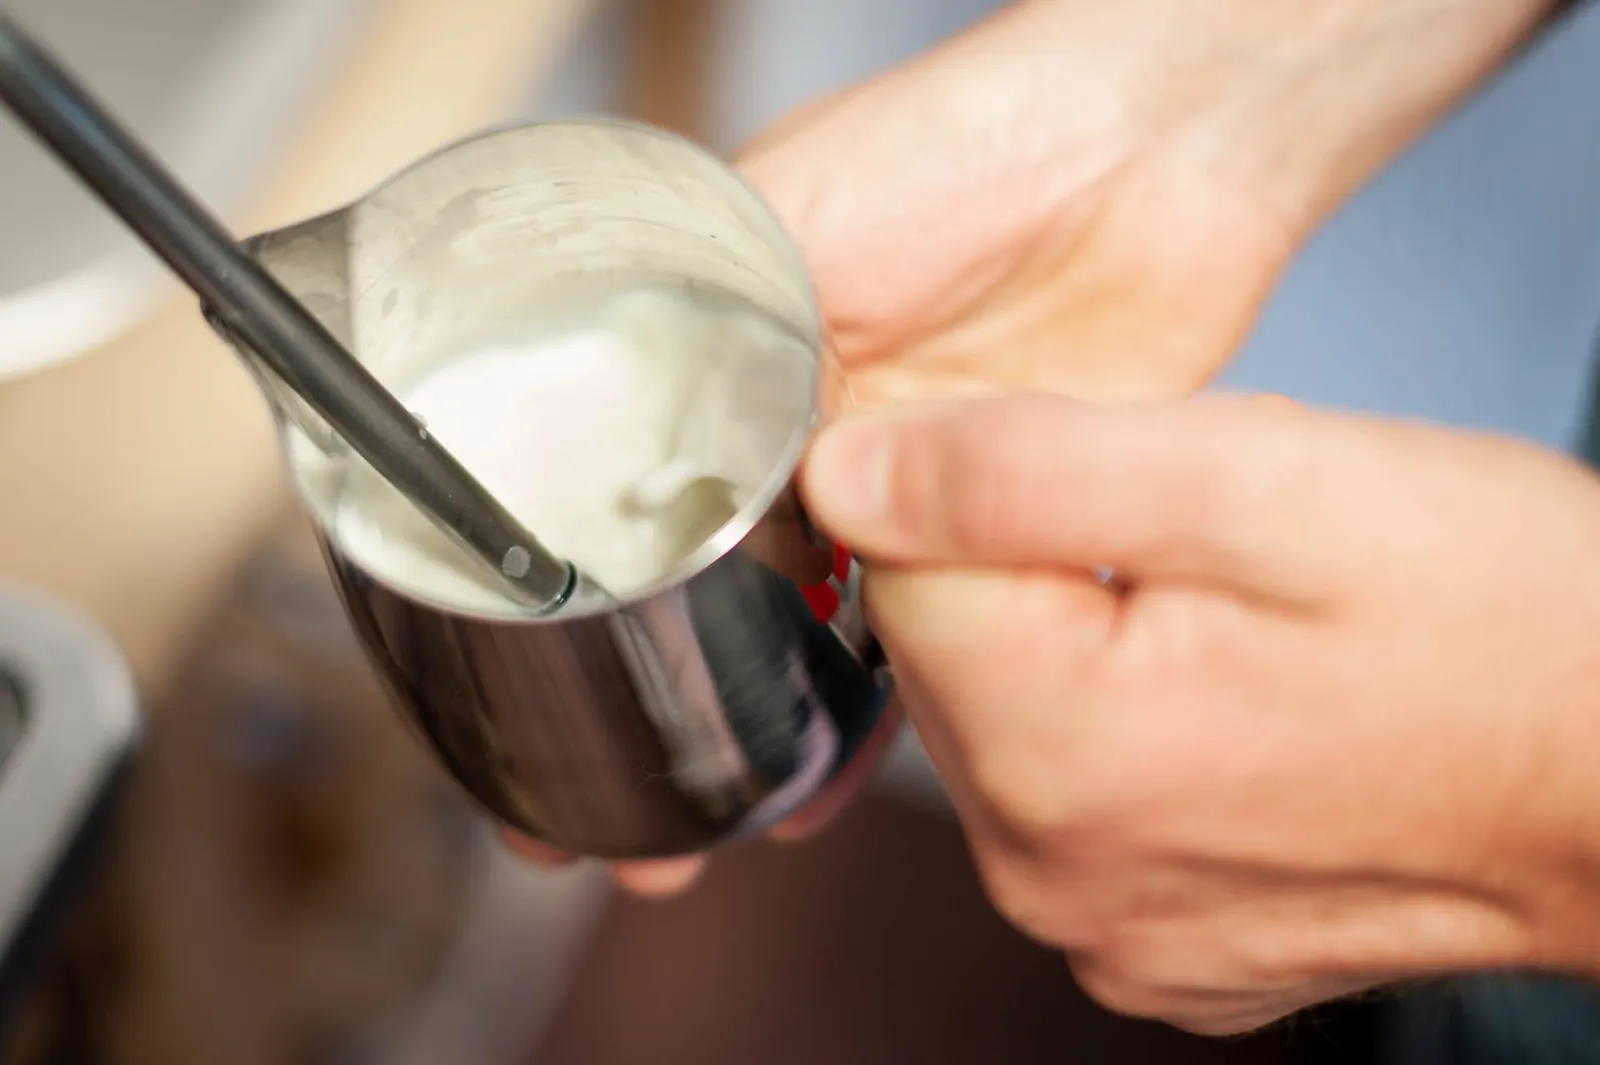
The timing and technique change depending on your specific milk type and the power of your machine. Start with a small amount of milk to learn the rhythm, as it’s much harder to fix a pitcher that’s already too hot or over-aerated.
| Milk Type | Estimated Time | What to Watch | Steam Intensity |
|---|---|---|---|
| Whole Dairy | 20-30 seconds | Glossy, thick texture | High |
| 2% Dairy | 25-35 seconds | Lighter, airy texture | Medium |
| Oat Milk | 30-40 seconds | Faster temperature rise | Low |
| Almond Milk | 20-30 seconds | Thin, fragile foam | Low |
Always start with a lower volume of milk to avoid wasting ingredients while you practice your technique.
Identifying Proper Texture
Good microfoam looks like wet paint or melted ice cream, with no visible bubbles on the surface. A poor result looks like dry, stiff soap suds that sit on top of the coffee rather than mixing into it.
This usually happens because the air was added too late or the steam pressure was too low for the volume of milk. You can prevent this by focusing on the “stretching” phase during the first few seconds of steaming.
Listen for a rhythmic, paper-tearing sound as you introduce air. If you hear a harsh, screeching noise, the tip is too shallow; if you hear no sound at all, the tip is likely too deep. Aim for a consistent, soft hiss. If your pitcher feels hot to the touch before the volume has increased by roughly 30 percent, you have failed to incorporate enough air early.
Hygiene and Maintenance
The main rule for steam wands is to keep them clean to prevent bacterial growth, as milk residue can easily harbor pathogens if left in the warm, moist environment of a steam tip. After every single use, wipe the wand thoroughly and purge it to clear the internal lines.
If you notice the steam flow is weak, a technician may need to clean the internal valves, as a clogged tip can lead to uneven heating or dangerous pressure buildup. You should sanitize the wand tip with a food-safe cleaner weekly to ensure your equipment remains in top condition for years.
Alternative Methods for Foam
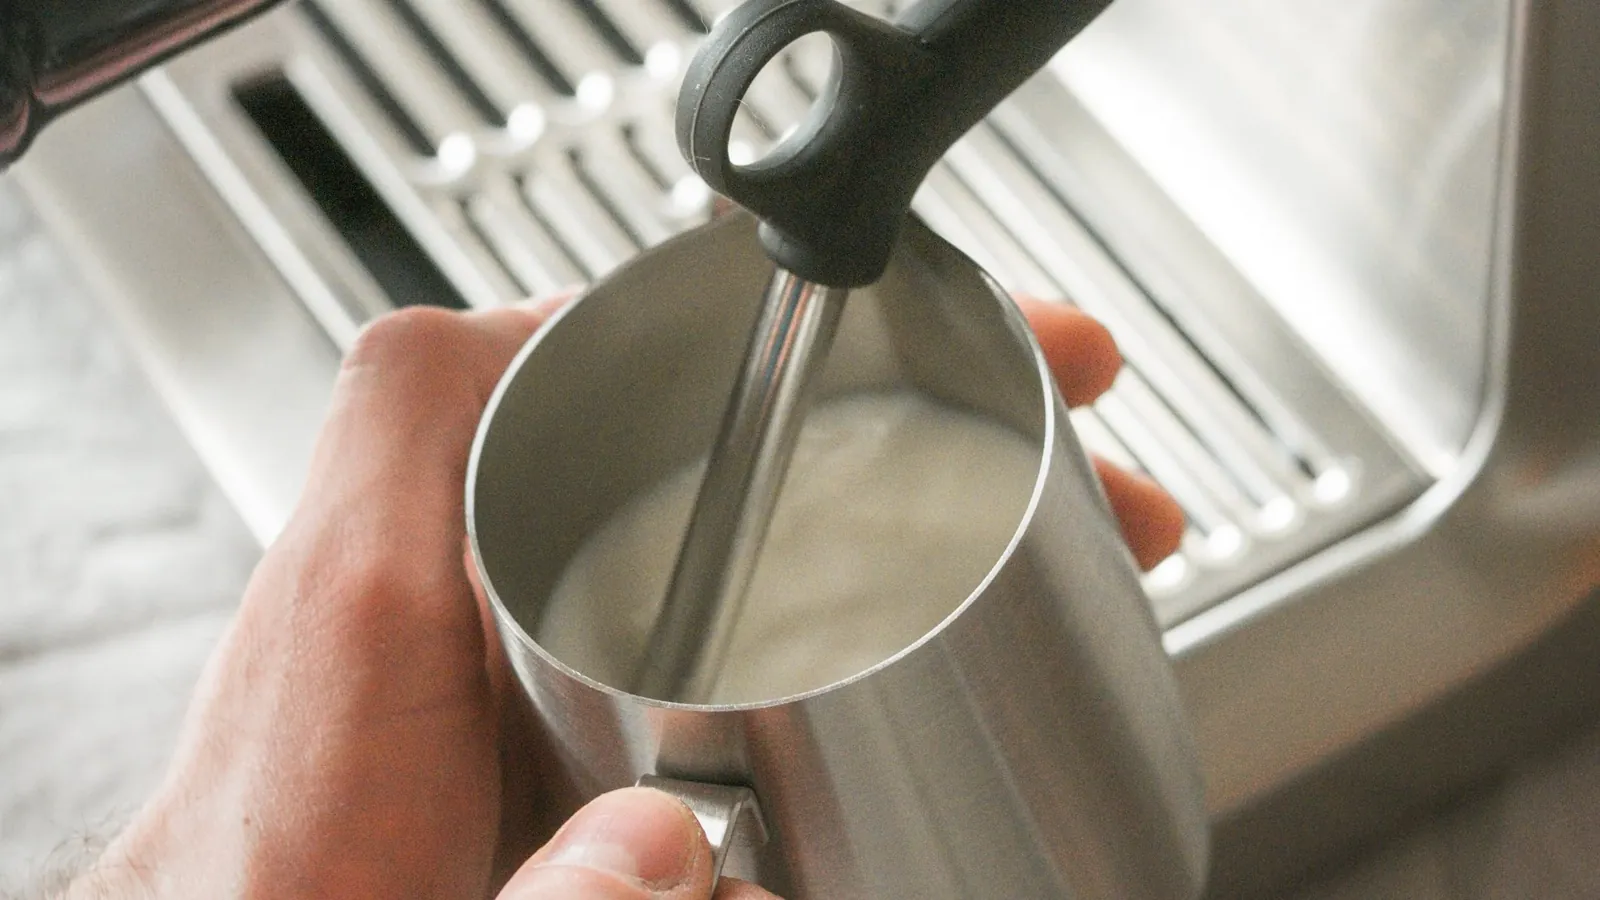
French Press Method
Use a clean French press to manually aerate warm milk. Pour 140°F milk into the carafe and pump the plunger up and down rapidly for 20 seconds. This creates a thick foam, though the texture is usually less uniform than what a dedicated steam wand produces.
Handheld Electric Whisk
Use a battery-operated wand to whisk warm milk in a cup. This is an inexpensive way to get air into the milk, but it lacks the heating power of a machine. You must heat your milk on the stove first, which makes it harder to control the final temperature.
Manual Pump Frother
Use a manual plastic frother that you pump by hand. These are very easy to use and provide consistent foam for home drinks, though they don’t reach the high temperatures or the silky micro-texture achieved by professional steam injection.
FAQs About How To Steam Milk With An Espresso Machine
How long does it take to steam milk?
It typically takes 20 to 40 seconds to reach 145°F, depending on the volume of milk and the power of your machine. Small amounts heat up in under 20 seconds, while a full pitcher may take closer to 40 seconds. Always use a thermometer if you’re unsure, as the speed changes based on your machine’s boiler size.
Is it safe to steam almond milk?
Yes, it’s safe to steam almond milk, but it requires a gentler touch than dairy. Plant-based milks reach their temperature limit faster and the proteins don’t bond the same way, so you must keep the wand tip just below the surface to avoid creating large, unstable bubbles.
Why does my milk taste burnt?
Your milk tastes burnt because it exceeded 160°F, which causes the sugars to caramelize and the proteins to denature. This ruins the sweetness and creates a bitter, sulfurous flavor. Always stop steaming at 145°F to ensure the milk stays sweet and creamy.
What happens if I don’t purge the wand?
If you don’t purge the steam wand, milk can be sucked back into the boiler as the machine cools down. This clogs the internal pipes and creates a place for bacteria to live inside your machine. Purging for two seconds before and after every use keeps the internal lines clear.
How do I fix thin, watery milk?
You fixed thin milk by introducing more air during the initial “stretching” phase. Keep the wand tip closer to the surface for a few seconds longer until the volume increases by about 30 percent. Once you hear that paper-tearing sound, move to the next phase to incorporate the bubbles into the liquid.
Conclusion
Developing this technique takes time, so be patient with your machine. If you find your milk is constantly too hot or too foamy, adjust your pitcher position or reduce the time you spend introducing air. Once you find the right balance for your specific machine, you’ll be able to pour consistent, velvety foam for every cup.
Disclosure: As an Amazon Associate, I may earn from qualifying purchases at no extra cost to you. Amazon and the Amazon logo are trademarks of Amazon.com, Inc, or its affiliates.
